If your website generates over $20k per month, let’s chat. We’ll discuss your goals and figure out how we can help your business get to its next stage of revenue and growth.
“Almost $4 million in revenue from basically nothing.”
Matt ChildsWine Stash
“[They] helped us to more than 10x our conversions while decreasing the amount we're spending on Adwords almost every day.”
Ellen McCalebHeadwaters Studio
"My conversion rate went from like 1.83 to over 9%."
Pat LangleyVaikobi
“We've been using them for just over a year now and we've had incredible success. We've grown our online business 145% and achieved a ROAS of 4.9. Fantastic return on investment!”
Over 1.4 million views and growing fast on YouTube
We’re proud to be helping thousands of ecommerce business owners by giving the most digestible, battle-tested advice to be found online about succeeding with Google Ads.
Be sure to follow our channel to stay in the loop.
Set up a Performance Max campaign in 7 easy steps
As with any Google campaign, setting up Performance Max requires several steps, but it’s more straightforward than it sounds.
If you follow our step-by-step guide to set up a Performance Max campaign, your ecommerce store will soon reap the benefits.
What to do before building a Performance Max campaign
Before you start setting up the actual campaign, there are a few things you should do first.
Set up your placement or inventory controls for your account. Go to “settings” and choose “account settings.” Under “inventory type,” choose the content types where you want your video ads to run.
Under excluded content, check any appropriate boxes for your brand. Under excluded types and labels, tick any content labels that aren't relevant to your ads. We usually block parked domains, the rest are at your brands discretion but be advised excluding below the fold only can have serve impact of limiting the reach of display campaigns.
Create a buyer persona to help you set up audience signals for Google's AI. You can create your audience signals before setting up the campaign, or you can do it during the setup process. Prepare your assets, such as images, videos, and product descriptions. You'll also need to have prepared some headlines and decide on your call-to-action (CTA).
How to set up a Performance Max campaign
Step 1
Go to your Google Ads account and click on New Campaign. A block will appear with various campaign objectives. Choose the one that best suits your business goals. For example, we'll choose “Sales” as our main campaign objective.
The goal chosen here will be the primary optimization target for your campaign.
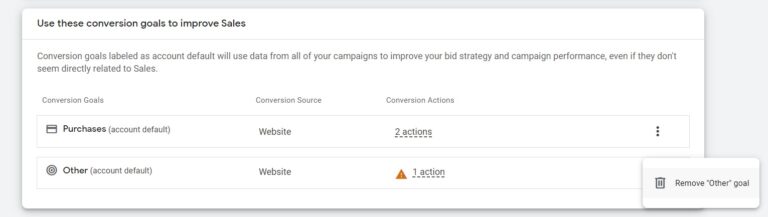
Once you choose an objective, scroll down the page to see the conversion goals. If you've set up ones previously, they will appear here. For example, you may want to have more sign-ups or subscribers instead of, in our case, purchases. For e-commerce stores we recommend using sales.
If you're not going to focus on other conversions, we suggest you remove them all except for your primary goals. You can have more than one goal, so, for example, you can have purchases and sign-ups as your goals.
In this example, we only want purchases, so we'll remove the one that says ‘Other' so that the campaign focuses only on pushing the primary goal.
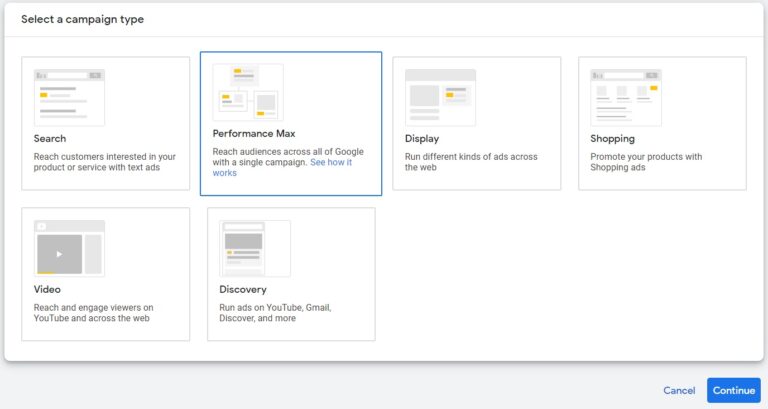
Step 2
You'll then get the option to choose a campaign type. Click on “Performance Max.”
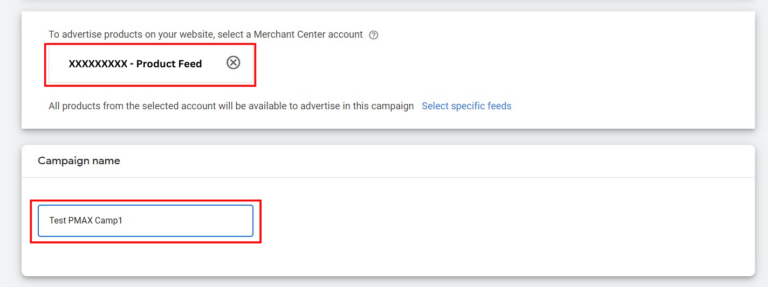
Next, you'll need to choose the correct product feed, which you should have already linked, and give your campaign a name. If you connected a product feed, do that first, then come back to creating the PMax campaign.
Step 3
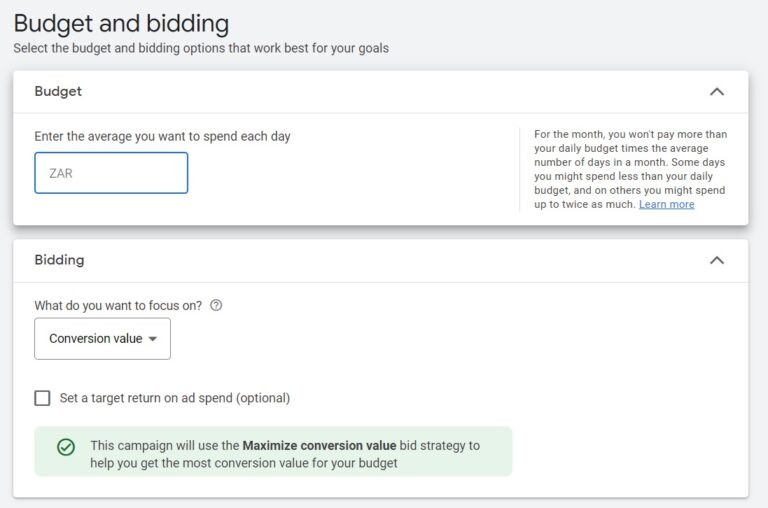
On the next page, you'll add your budget. This amount is a daily limit that Google will try to adhere to when promoting your campaign. You also need to choose what type of bidding you want Google to focus on.
Since Performance Max is automated, you can't manually manage bids and so choose between “Conversion” or “Conversion Value” for the bidding focus.
If you have a target amount, you can add a cost-per-action (CPA) or a return-on-ad-spend (ROAS). If you set a target amount, it means that Google will try and achieve as many conversions as possible at or below the listed CPA. However, be aware that starting on a target ROAS or CPA will restrict the campaign's learning and potential scale.
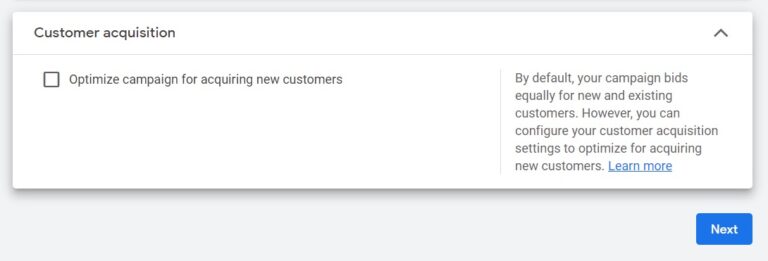
Google allows you to optimize a campaign for new customers or to bid equally for new and existing customers. Be mindful when you use this option. Google will assign additional conversion value to new customers, creating discrepancies between your Ads revenue and your actual revenue.
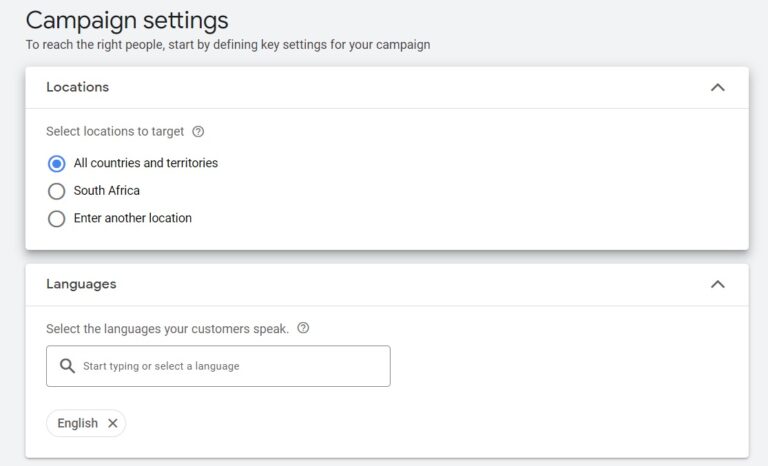
Step 4
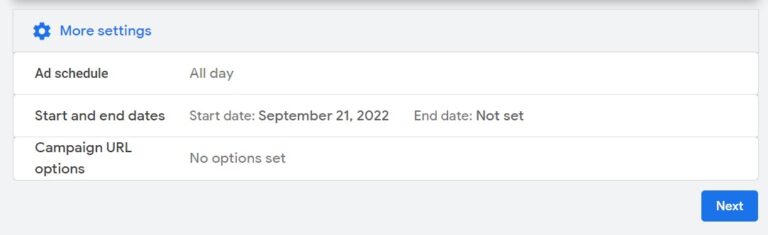
Next up are the general campaign settings. Here you can choose location, language, URL expansions, and any start or end dates for the campaign. Google recommends the URL expansions be activated, which is best to drive more conversions and enable dynamic search ads.
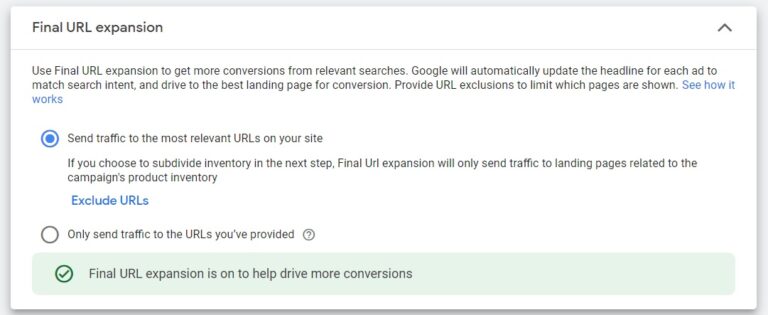
If you want the best performance for your campaigns – Leave the Final URL expansion turned on.
If you don't want dynamic headlines for some terms but still want the performance – Leave the Final URL on and add negative keywords.
If you want to exclude pages from receiving traffic – Leave the expansion on and use URL exclusion.
There's only one way to convert on your site, and if you want all the traffic to go to one page – Turn the Final URL off.
Step 5
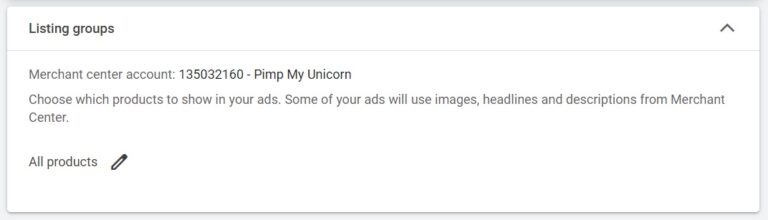
At this point, you'll need to create asset groups and listing groups.
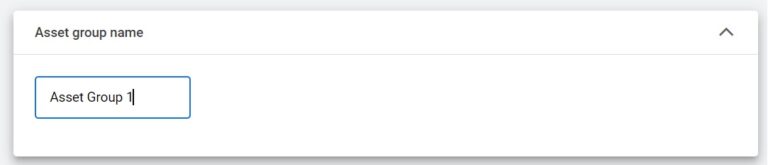
First, name your asset group.
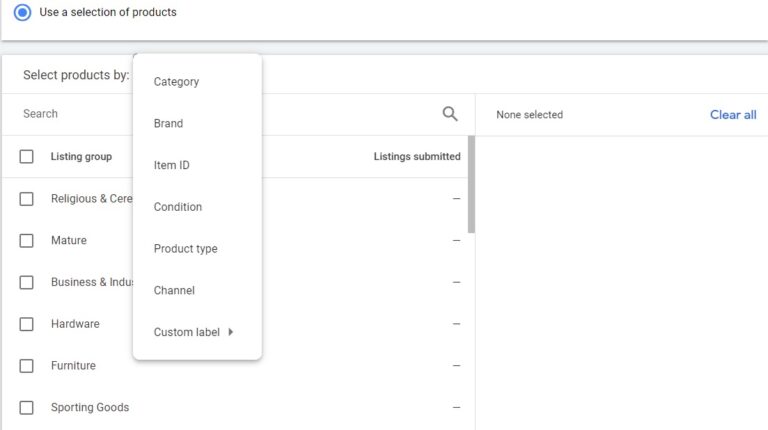
Next, decide if you want to use all the products from your feed or if you want to choose a selection of products.
If you choose a “selection of products” within the listing groups, Google will prompt you to select a category and a listing group type.
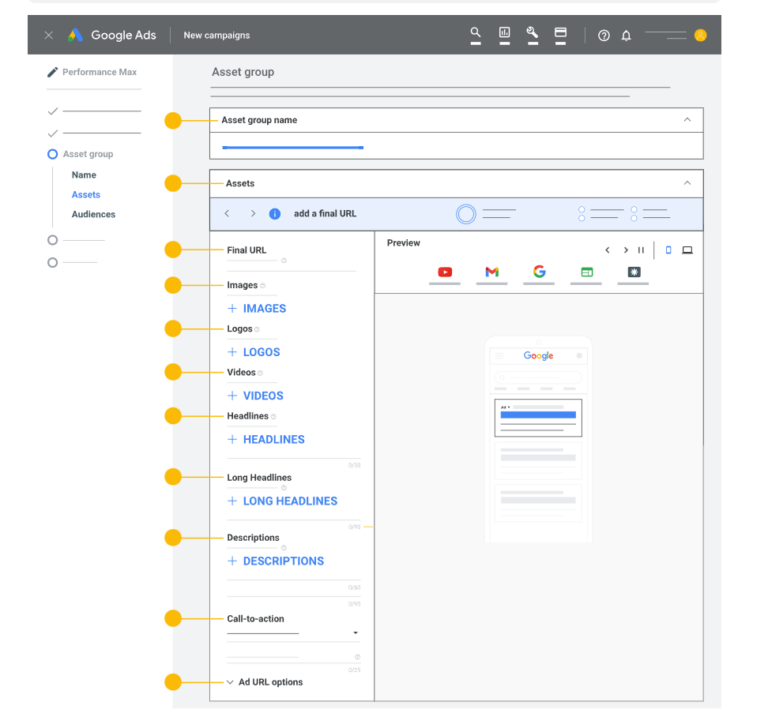
Once you've completed that step, you'll need to add the actual assets to your campaign. In the image below, you'll see some yellow dots that indicate which areas need to be completed for Google to accept the asset.
The better your creative assets, the more attractive your ads will be to potential customers. Higher quality assets also allow you to appear on more inventory to drive conversions.
You can create multiple asset groups per campaign, which you can group by theme or other product criteria.
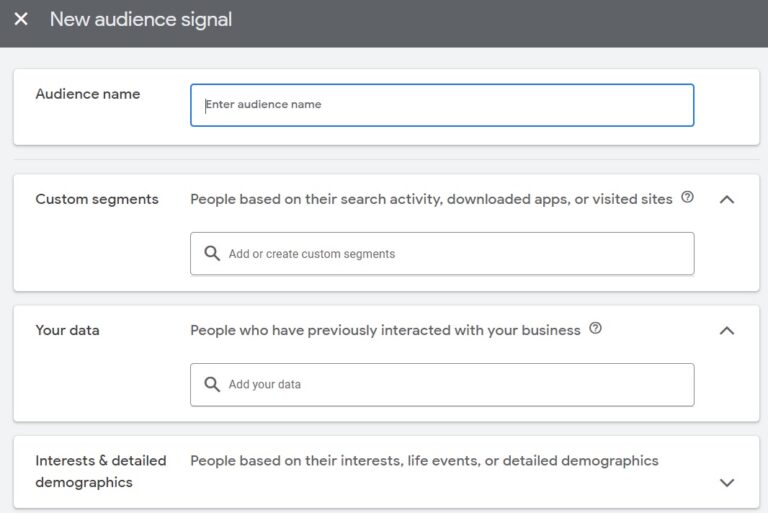
After adding the assets, you can create audience signals or link your campaign to audience signals which you created before.
For Audience signals, we recommend searching interests and detailed demographics. For example, you can search for the product type you're looking to advertise if there is an in-market audience specific to your product, it's strongly recommended that you include it.
The more specific the data, the better, and ideally, in-market audiences are best. However, custom segments are another valuable audience where you can target profitable, high-quality, accurate, descriptive keywords for your products.
Step 7
Once you've completed all the steps, you'll see a summary of all the settings you chose. Browse the information provided on this final screen and if everything is correct, click “Publish.”
Ready to launch
There you have it! You've just created your Performance Max campaign.
Now all that's left to do is wait. No, seriously, don't touch anything for at least 45 days. This period is the time that Google's machine learning needs to complete its processes. If you make any changes in those first weeks, it will reset the sequence, and you would have lost all that time and money.
You'll want to keep an eye on your Google ads campaign account to see if it has any issues, such as the budget.
Adjusting your daily budget from your Google ads portal will have minimal impact on machine learning as long as the budget change keeps within a 15-20% increase or decrease, so you can increase it if it's restricted.
The dashboard will also show you how your creatives are performing and will offer improvement suggestions. However, the main thing to remember is to be patient and allow Google's AI to discover your ideal customer.
Though quiet and soft-spoken when you first meet him, Mike is full of Google Ads surprises. With solid fundamentals for managing accounts, he also has the habit of formulating unique strategies for getting client accounts out of challenging situations and on the path to growth.
We’ve generated millions for our clients, using the methods we’ve developed over years with a singular focus on Google Ads for ecommerce. To discover how we can help grow your business:
You can also subscribe to our weekly email newsletter to get real-world tested growth and optimization strategies, as well as notifications on anything you may need to know as an ecommerce store owner.
Browse our blog, written and structured to be the best resource in the world for anyone starting and growing their online store. It includes strategy guides, setup instructions, checklists, and tools.
Explore our KeyCompendium, which is a comprehensive wiki of digital marketing terms. Many readers have commented on the usefulness of this content.